We store many private photos in iPhone. However, when we lend our phones to others or lose it, these photos are at risk of being leaked. You may want to lock your photos on iPhone to prevent unauthorized access. In this article, I’ll show you how to password protect photos on iPhone using different ways.
 Download on theApp Store
 GET IT ONGoogle Play
 Free Download macOS 10.12 or later
 Free Download Windows 11/10/8/7
The first and best method to lock Photos on iPhone is using Cisdem AppCrypt. It is an app locker and website blocker tool rolled into one. With it, you are able to lock the Photos app on your iPhone with a 4-digit PIN or a 6-digit PIN. Also, it automatically locks itself to prevent others from changing your settings. No one can access your photos without entering the PIN, even if he know your phone's screen lock password.
To lock Photos on iPhone with AppCrypt:
1. Download and install it from the App Store.
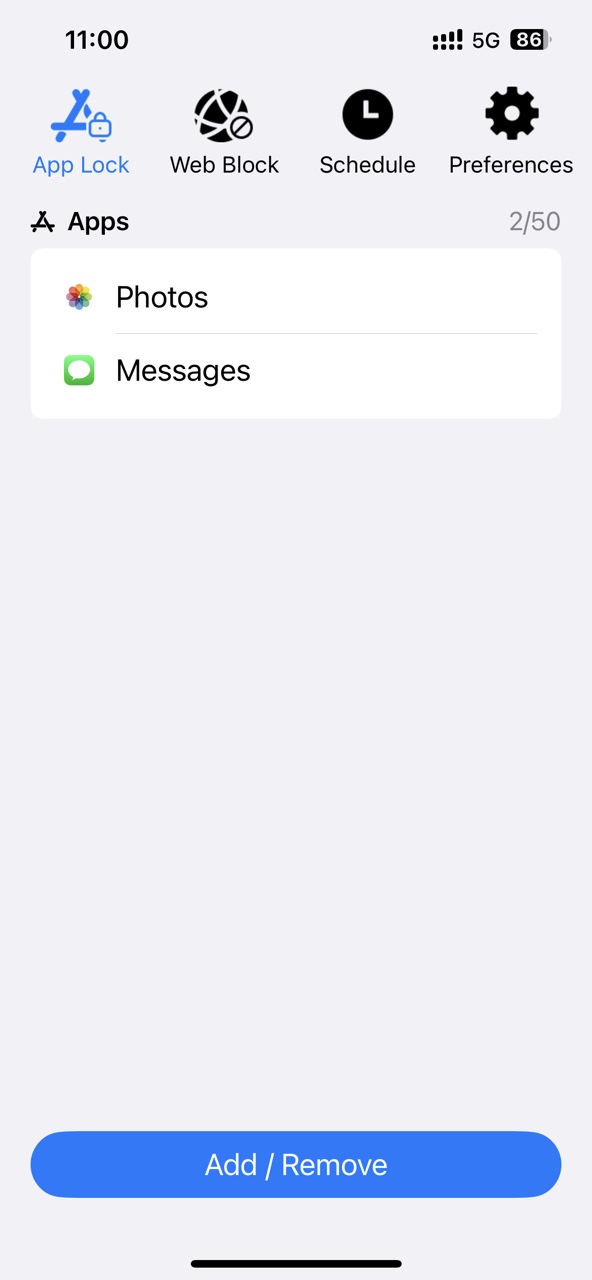
2. Open it. Go to the App Lock tab.
3. Click Add/Remove.
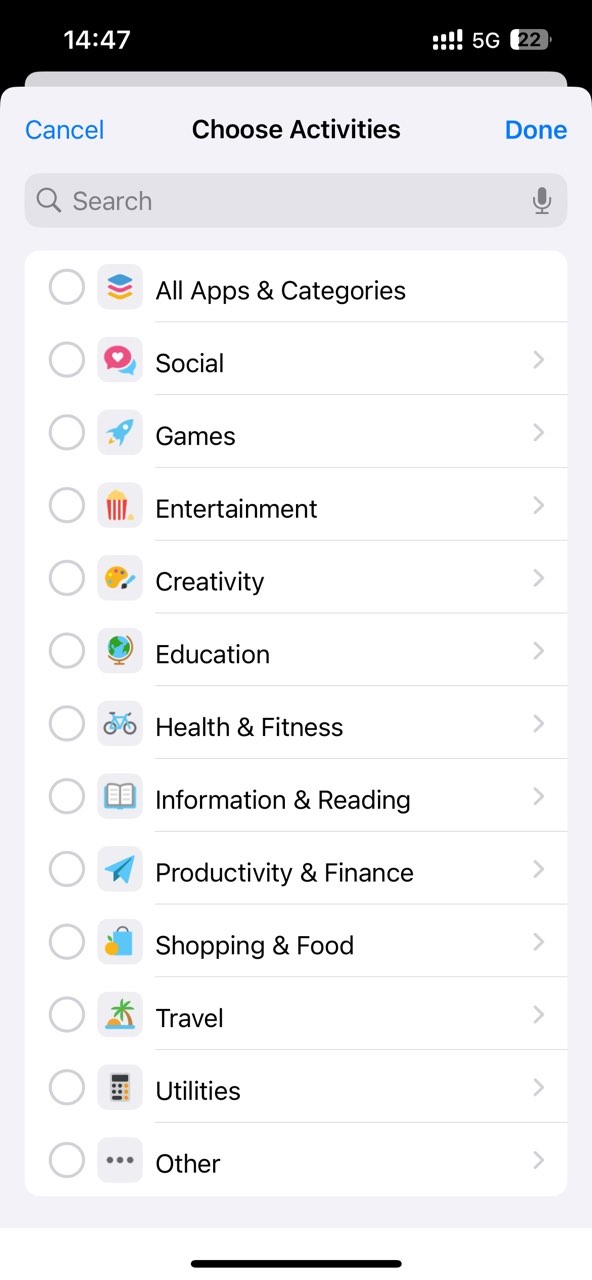
4. Select Photos from the Application list. Also you can directly search for it. Click Done.

Now all your photos are locked on your iPhone.

5. This step is optional and recommended: go to the Preferences tab. Select Notifications. Then turn on the "Notification" and "Notification unlock" options.

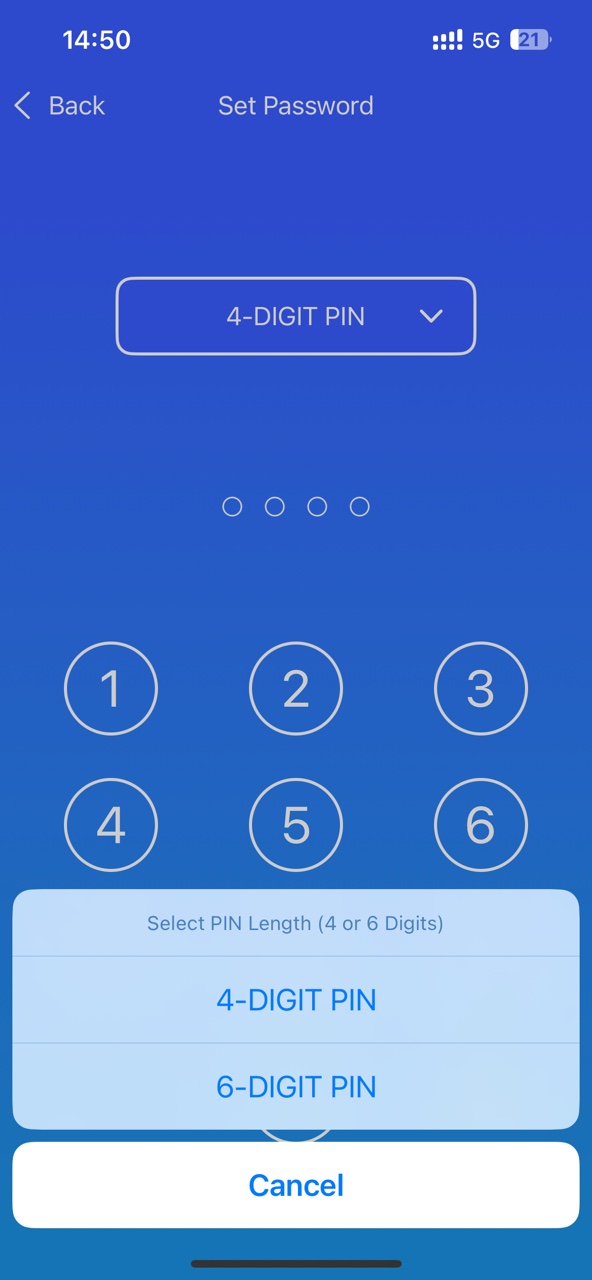
It'll prompt you to set a 4-digit PIN or 6-digit PIN for protecting your settings and unlocking locked apps.

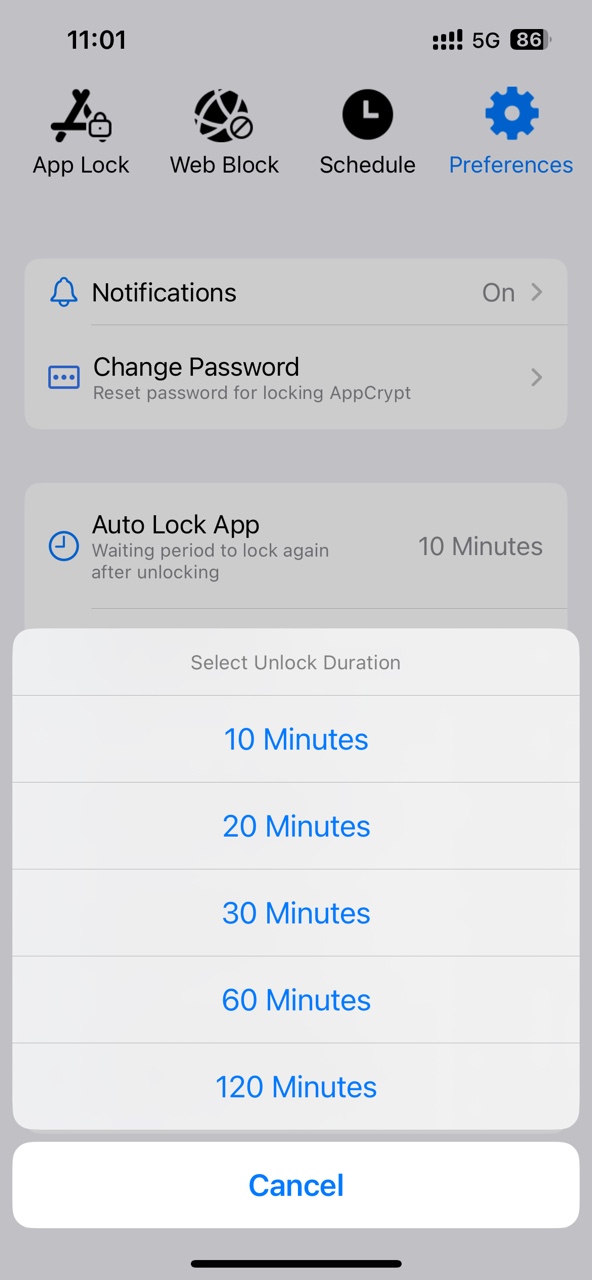
If you unlock Photos with the PIN and leave it running in the background, it'll remain unlocked. Then others can still view your photos during that time. Fortunately, AppCrypt can automatically re-lock the locked apps after you unlock them for a period of time, such as 10 minutes, 30 minutes. Click Preferences. Select Auto Lock App. Then you can select the time you want Photos to be automatically locked after you unlock it.

Developed by Apple, Shortcuts is an app on iOS, iPadOS, macOS, and watchOS devices. It can help users automate many tasks, especially the tasks you do regularly. By creating a customized shortcut, you can get the task done quickly via a single tap or asking Siri. iPhone users can also create a Shortcut to lock Photos. This method is a bit complicated. But as long as you follow the detailed steps below, you can successfully lock your photos.
1. Find the Shortcuts app on your iPhone. If you can't find it, download and install it from the App Store. Open it.
2. Click the Automation tab at the bottom. Click New Automation.
3. On the next screen, scroll down to find App. Select the option.
4. Click the Choose button next to App.
5. Select Photos from the application list. Click Done.
6. Select the Is Opened and Run Immediately options. Click Next.
7. On the next When “Photos” is opened window, click on New Blank Automation.
8. In the Search Actions field, search for Lock Screen. Select it.
9. Click Done to save the Shortcut for locking Photos.
Now the Photos is locked on your iPhone. The next time you try to access it, it'll lock your phone automatically. You can unlock it using your Face ID, Touch ID, or screen lock password.
iOS 18 brings more privacy protection features, one of which is the lock/hide app feature. With it, you can lock almost all applications on your iPhone with your Face ID or Touch ID. To lock photos on iPhone using this method, first make sure your iPhone has been upgraded to iOS 18 or higher. Go to Settings on your iPhone. Click General > Software Update. Then you'll see the OS version.
To lock Photos on iPhone using the lock app feature on iOS 18:
1. Open your iPhone, long-press on the Photos app.
2. Select Require Face ID (or Touch ID).
3. Click Require Face ID (or Touch ID) again to confirm.
Now Photos is locked. It can only be accessed using your Face ID/Touch ID.
Here’s another simple way to lock photos on iPhone - using the Hidden album. This method does not lock all the photos in your photo library. You can only lock some of your photos by adding certain privacy photos to the Hidden album. Then lock the Hidden album with your Face ID or Touch ID. Other people who use your phone can still access the Photos app but won’t be able to see those photos in the Hidden album. You can also think of this Hidden album as a locked album.
1. Open Photos on your iPhone.
2. In your photo library, find the photo you want to lock. Long-press on it. Click Hide.
If there are multiple privacy photos you wish to lock, click Select in the upper right corner. Then select the images one by one. Click the 3-dot icon in the lower right corner of the screen. Select Hide.
3. When prompted, click on Hide Photo.
Now the photos are moved to the Hidden album and on iOS 16 or higher this album is locked by default.
To view the locked photos, scroll down and click Hidden under Utilities. Then you can unlock it with your Face ID/Touch ID.
4. This step is optional: you can hide the Hidden album itself to further protect your locked photos on iPhone. Open the Settings app. Scroll down to find Apps. Click it. Select Photos app. Turn off the Hidden album using the toggle switch next to Show Hidden Album. Now the Hidden album won’t appear under Utilities in your Photos app.
Through this article, I believe you have learned how to lock Photos on iPhone. From using third-party app locker - AppCrypt to taking advantage of Shortcuts, the new lock app feature of iOS 18, and the Hidden album. You can choose the most suitable way according to your needs. Thanks to these Photos lockers for iPhone, you can temporarily lend your phone to others without worrying about your privacy being leaked.

Norah Hayes likes to share her tips on how to improve focus and stay motivated at work. She believes it is essential to eliminate all online distractions during work hours.

