Time Machine is the built in backup app for macOS Leopard and later, it also offers a handy feature Restore, allowing users to scroll through all the backups and go back to a previous version when needed. However, for the reasons that Time Machine keeps creating duplicate copies and lacks the specification to backup files fast, many Mac users choose to turn off Time Machine backup. But what if you accidentally replaced a file on Mac and want to recover under this circumstance? Will this error turn to a terror because you’ve made critical changes to the file?
No worries, as long as we act quickly, we can get the replaced files back. In this guide, we will show you 7 ways to recover an overwritten file on Mac.
Yes, it is possible.
Replaced file, also known as overwritten file, is a new file saved over the original copy. It has the same file name and save path. But it doesn’t mean the replaced file is saved in the exact same spot as the original file and erases the original file completely. The original file will be kept on the disk until there is new data overwriting the file.
All operating systems have utilities built in to backup and recover replaced files from a previous copy, such as Time Machine on Mac. It saves all the previous copies of a file, so Mac users can revert to a previous version to recover the replaced file. And luckily for a Mac user, the autosave feature works too. This feature is available in the file processors that comes in macOS, such as Preview, Pages, Keynote, Numbers, TextEdit. That’s to say, even without Time Machine, Mac users can recover a replaced file in these apps with the Revert tool easily and quickly.
If you don’t use these apps and want to recover other files, we can still make it, as long as we have other backups and act within a reasonable amount of time. The backups can be saved in the cloud, or once saved on your Mac drive but were deleted later.
Once you realize that you’ve replaced the file by mistake, calm down and do nothing to your Mac first. There is a chance you can restore with Undo, also 6 other potential ways that we cover below. None of these are guaranteed to work, but worth a shot.
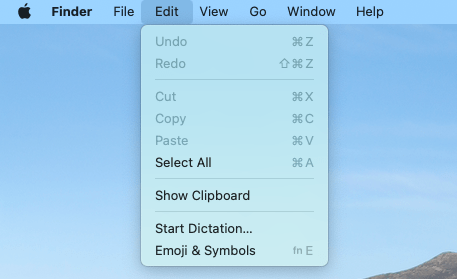
On Mac, there is a shortcut Command+Z used to undo the previous command and it works in all file processor on a Mac, including Preview, Pages, Numbers, Keynote, Word, Excel, PowerPoint, TextEdit and so on. If you directly saved a file in these apps but want to recover the replaced file, you can press Commad + Z on your keyboard to undo. However, this only works you press this shortcut right after saving the file.
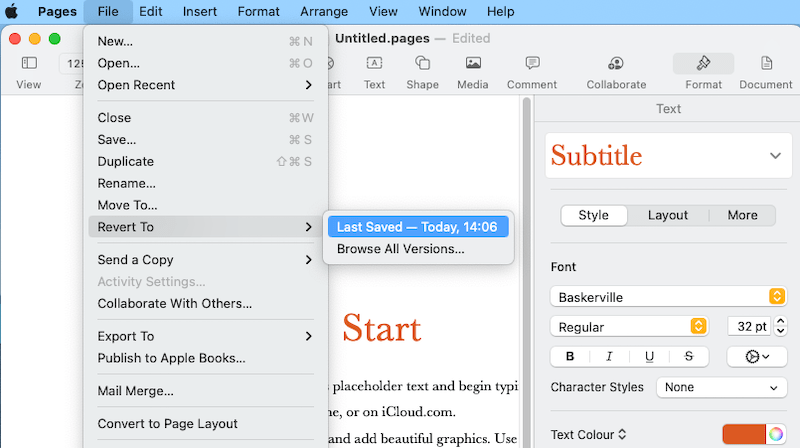
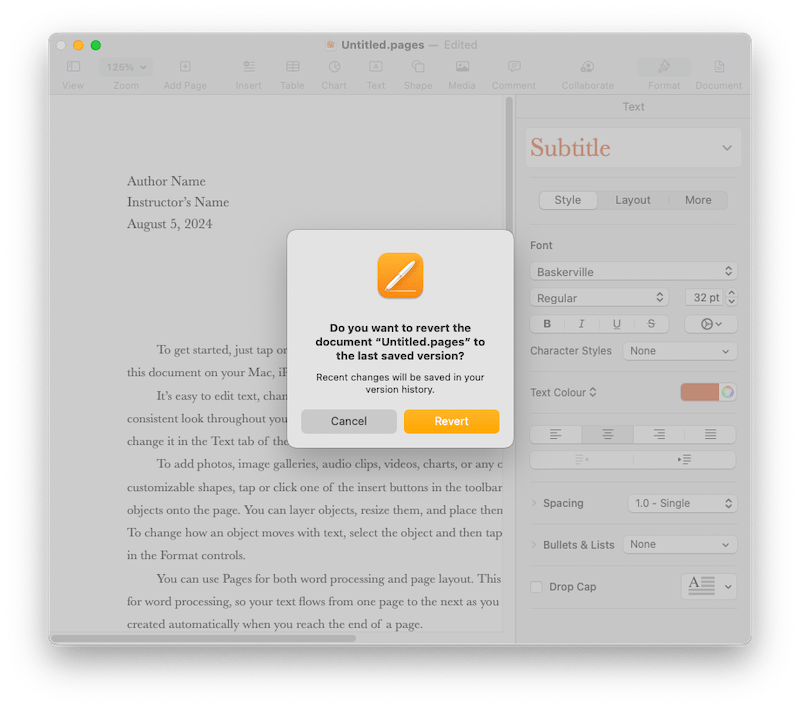
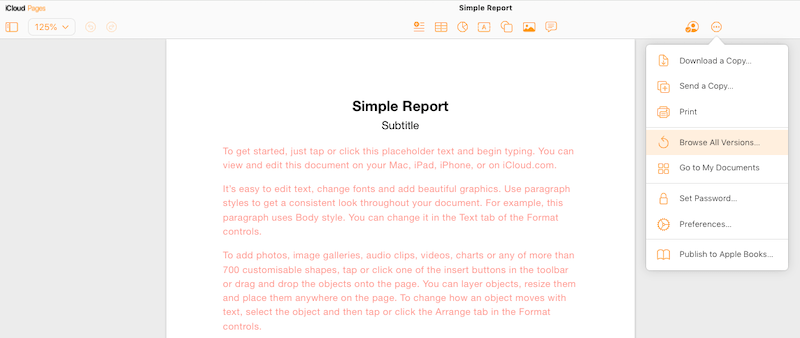
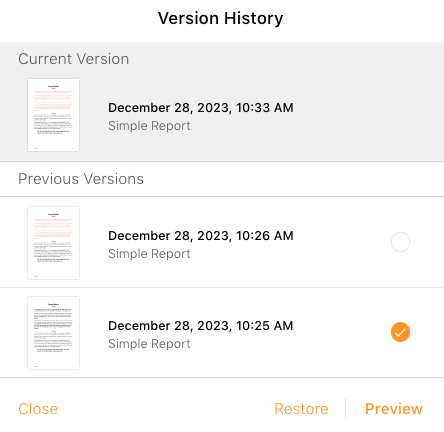
Surely, you can revert the file in the app that you use to edit and save the file. A lot of apps builds in the feature to browse all file versions and revert to a previous version. For example in Pages, you can take the following steps to recover a replaced file:
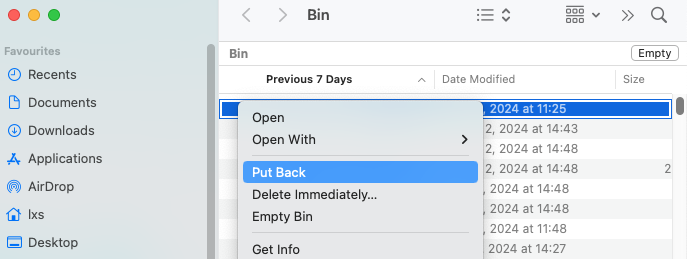
Also, don’t forget to check back your Trash bin in case that you’ve saved copies for the file.
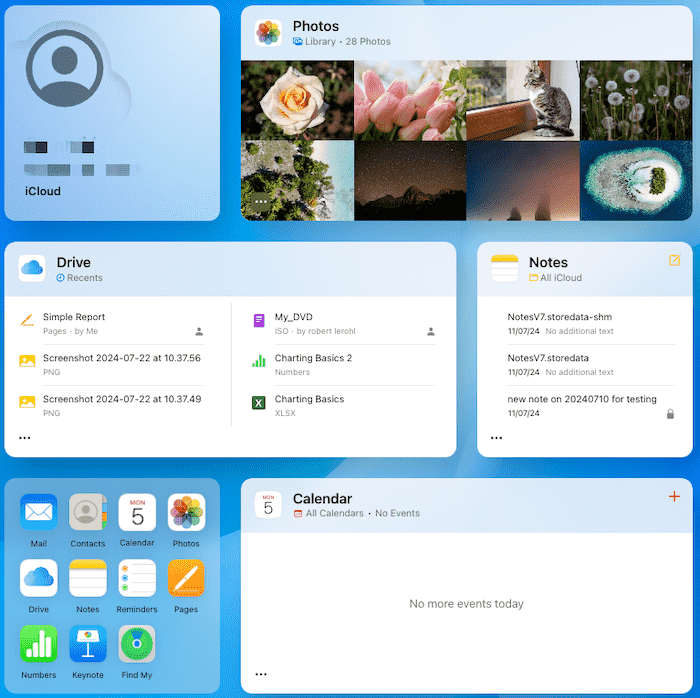
It is much likely for a Mac user to enable iCloud backup for easy file access and sync, or you may use iCloud web version to manage files online on a regular basis. iCloud can backup a file and its previous versions as well, no matter the files are saved on the drive or in iCloud apps.
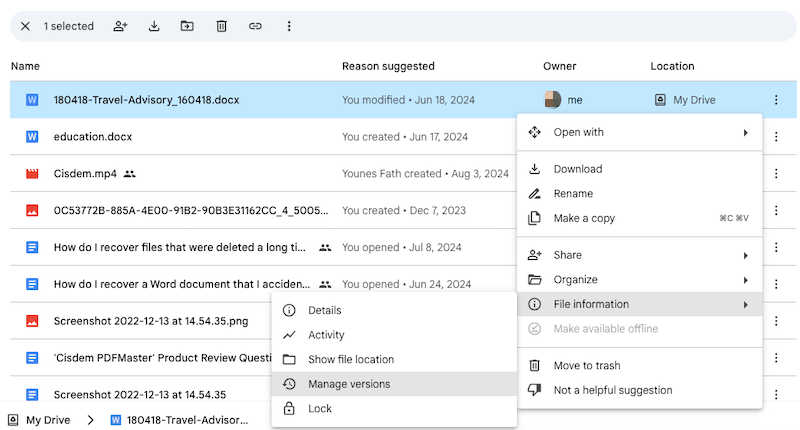
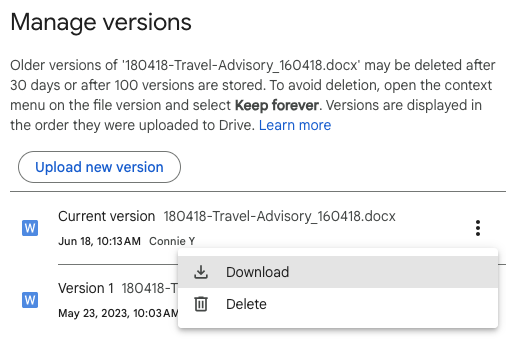
Google Drive is used everywhere, it offers a speedy and efficient way to manage files across different devices. It also has a powerful office suite and generous free 15GB storage, which makes it one of the best way to edit and backup files on a Mac. If you use this service, then you can follow the steps to recover a replaced file:
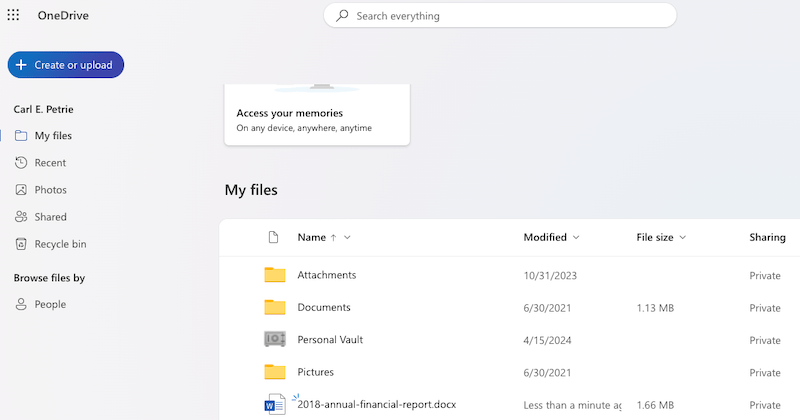
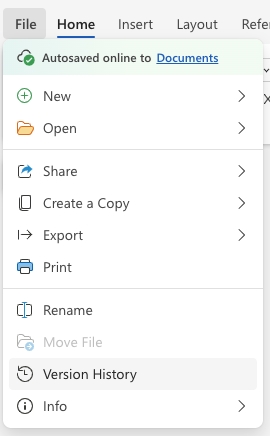
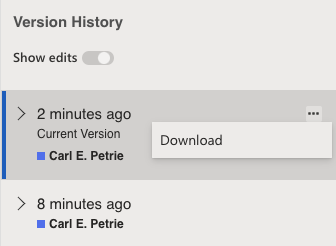
OneDrive is another popular cloud storage platform to save and manage files online, especially for those who need to deal with office documents in Word, Excel, PowerPoint format a lot. It also comes with the feature to revert to a previous version.
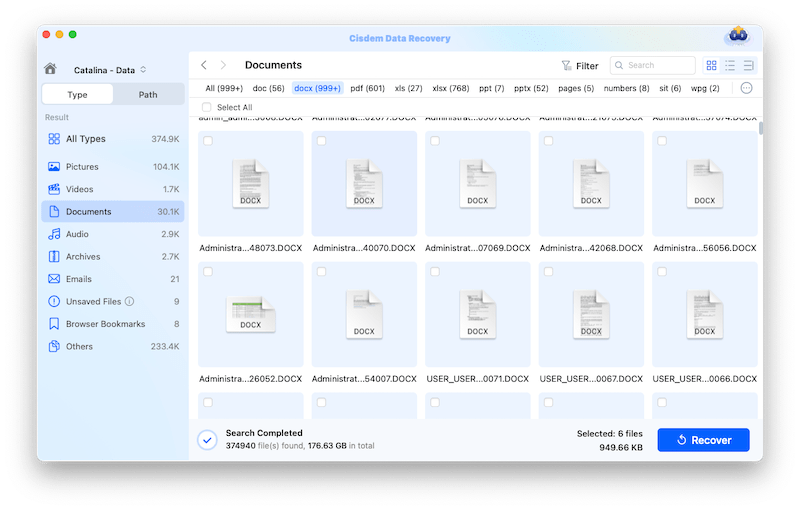
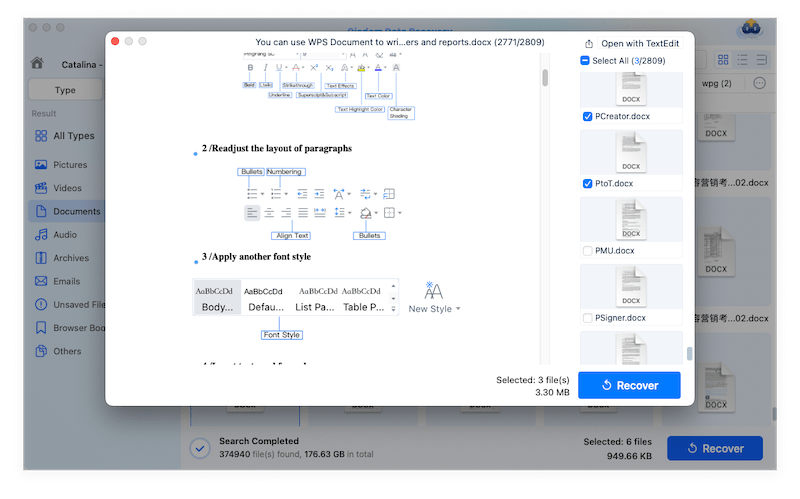
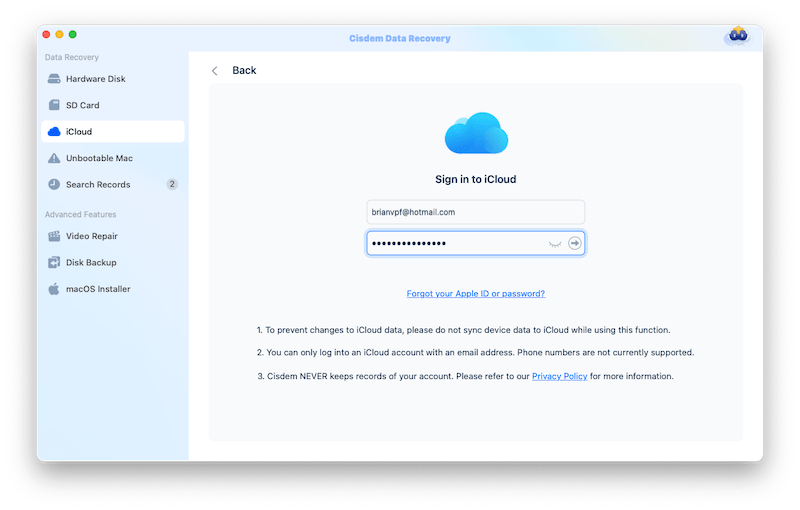
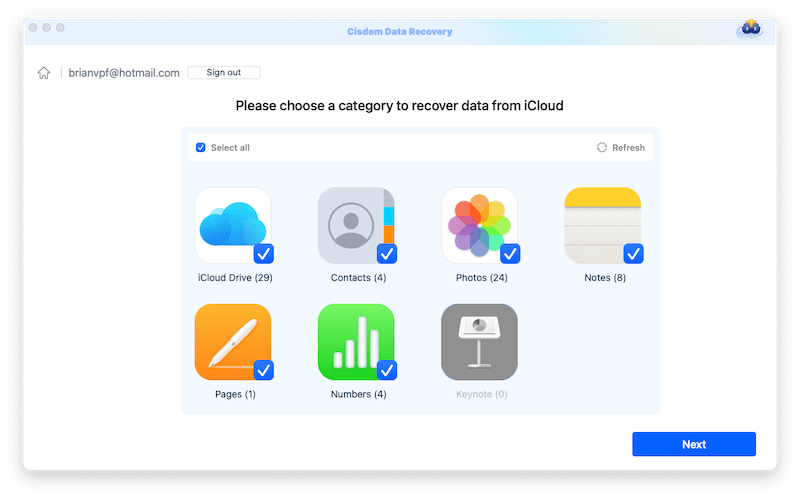
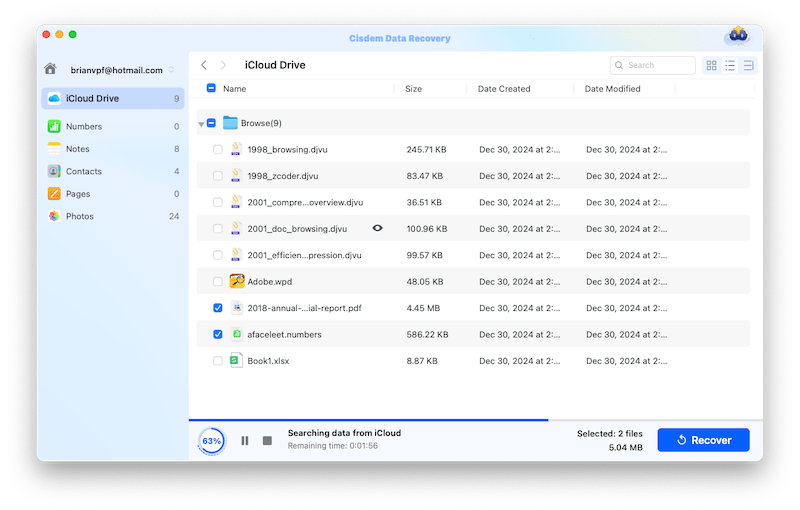
The last but not the least useful method is to use a data recovery program, it will scan and find out all the previous copies of the replace file. Cisdem Data Recovery is an excellent application to recover deleted, formatted, lost, damaged and replaced files, from both internal and external hard drive. Especially for Mac users, it lets users recover files directly from iCloud backup.
It also has the best support of various file formats: word, excel, powerpoint, pdf, pages, numbers, keynote, jpg, png, psd, raw, avi, mov, mp4, mp3, wav, wma, zip, rar, email and so on.
Here we will introduce 2 ways of recovering a replaced file in Cisdem.
 Free Download macOS 10.9 or later
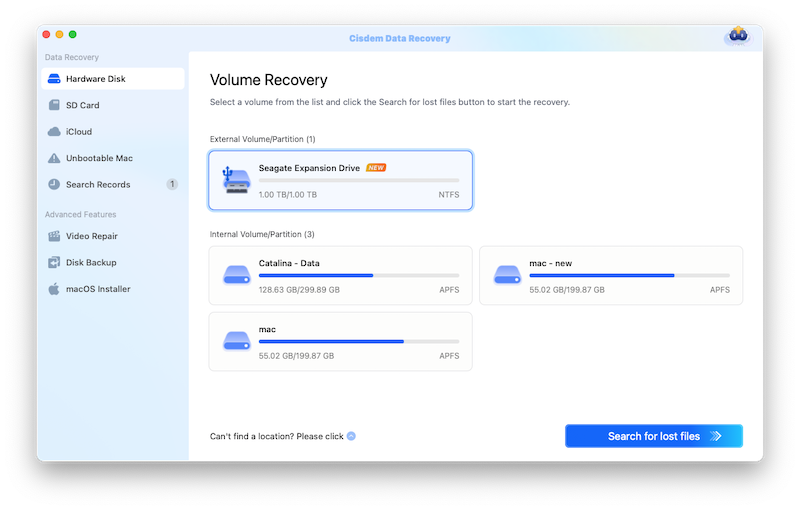
Free Download macOS 10.9 or later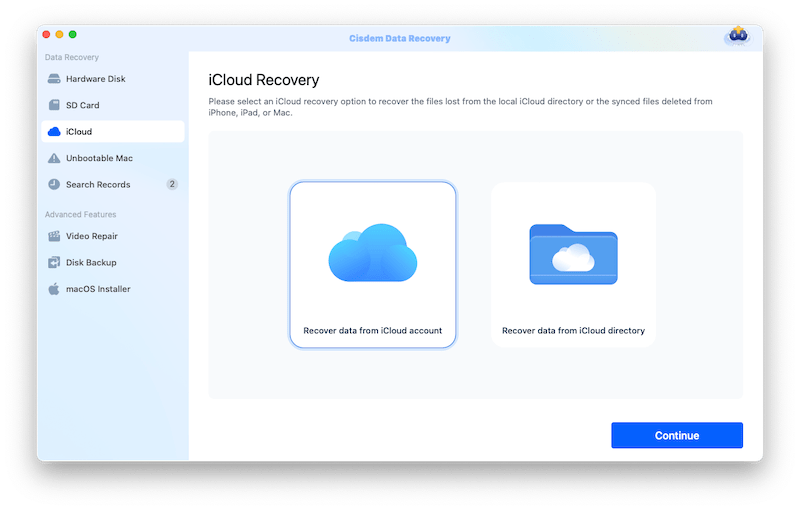
Over the past few years, we have received a lot messages from people who lost their files and wanted to recover. A part of them were confused about restoring a replaced file, so we here collect several methods with full steps. The replaced file recovery is only feasible when you’ve backed up a previous version, if you don’t have one, then you are out of options.

Connie Yu has been a columnist in the field of data recovery since 2011. She studied a lot of data loss situations and tested repeatedly to find a feasible solution tailored for each case. And her solutions are always updated to fix problems from the newest systems, devices and apps.