I am not dealing with Photos Library on the Mac. I have copied a quantity of photos over time to an external hard drive, and these are the duplicates I am trying to eliminate. Is this possible with a duplicate file finder? Please help.
This article will show you how to find and delete duplicates in Photos library stored on an external hard drive, SD card, USB flash drive, etc. When your Photos Library is too big and takes too much storage on Mac, you may choose to move Photos Library to external hard drive. What is the best duplicate photo finder for Mac that is safe and easy? Just read on.
 Cisdem Duplicate Finder
 Free Download macOS 10.11 or later
 Free Download Windows 11/10/8/7
Step 1. Connect the external hard drive where your Photos Library is located to your Mac.
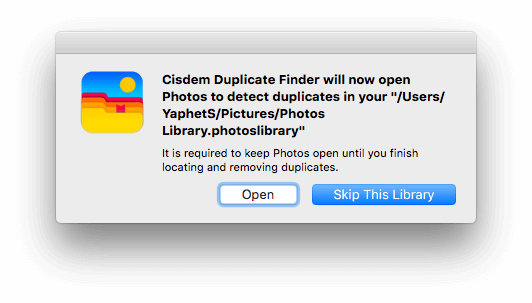
Step 2. Press and hold the Option key on your Mac and open the Photos app simultaneously, which will bring up the Choose Library window.
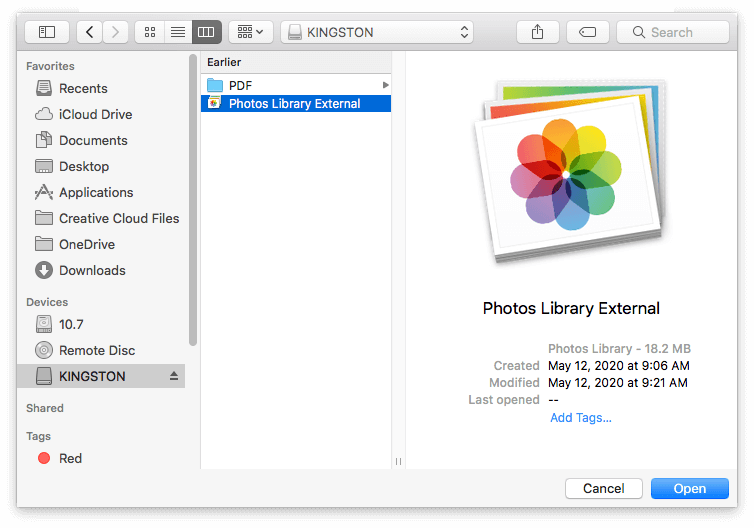
Step 3. Click Other Library in the bottom left corner of the window. Select the .photoslibrary file on the external drive.
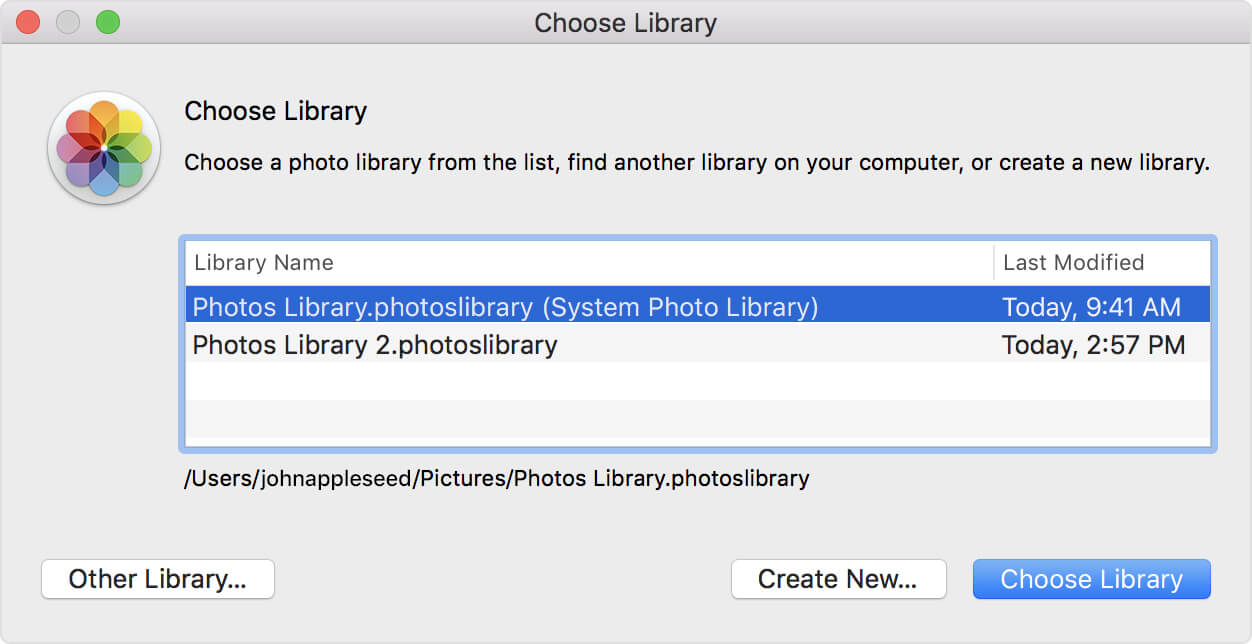
For the sake of convenience, I name the file "Photos Library External". Click Open. Click Choose Library.
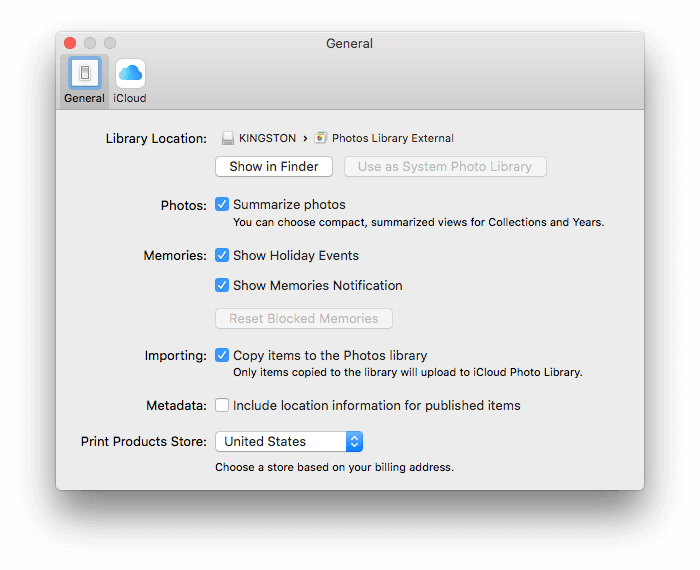
Step 4. In the Photos app, from the menu bar at the top of your screen, select Preferences. Under the General tab, click the Use as System Photo Library. If it is grayed out, it means that the library is already the system photo library.
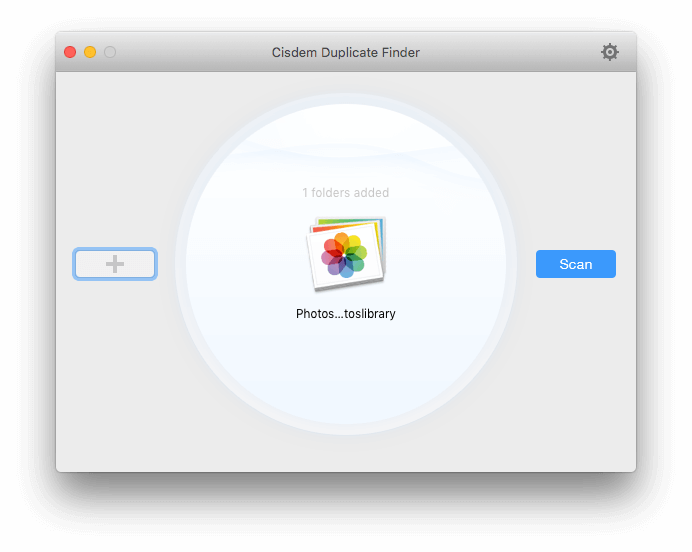
Step 5. Download and install Cisdem Duplicate Finder. Launch it. Click the settings icon. Navigate to General > Photos Library Location. Click the Change button next to it. In the dialog box that shows up, select the external Photos Library file "Photos Library External". Click Open.
Step 6. Drag "Photos Library External" into the app. Click Scan.
Step 7. Once this Photos Library photoslibrary duplicate finder finishes scanning, it will list the duplicate photos (as groups of duplicates) under the Images tab in the results window. You can easily view and sort them by filename, size, etc. There are three preview modes. The first (default) one is great for image preview and lets you compare images side by side.
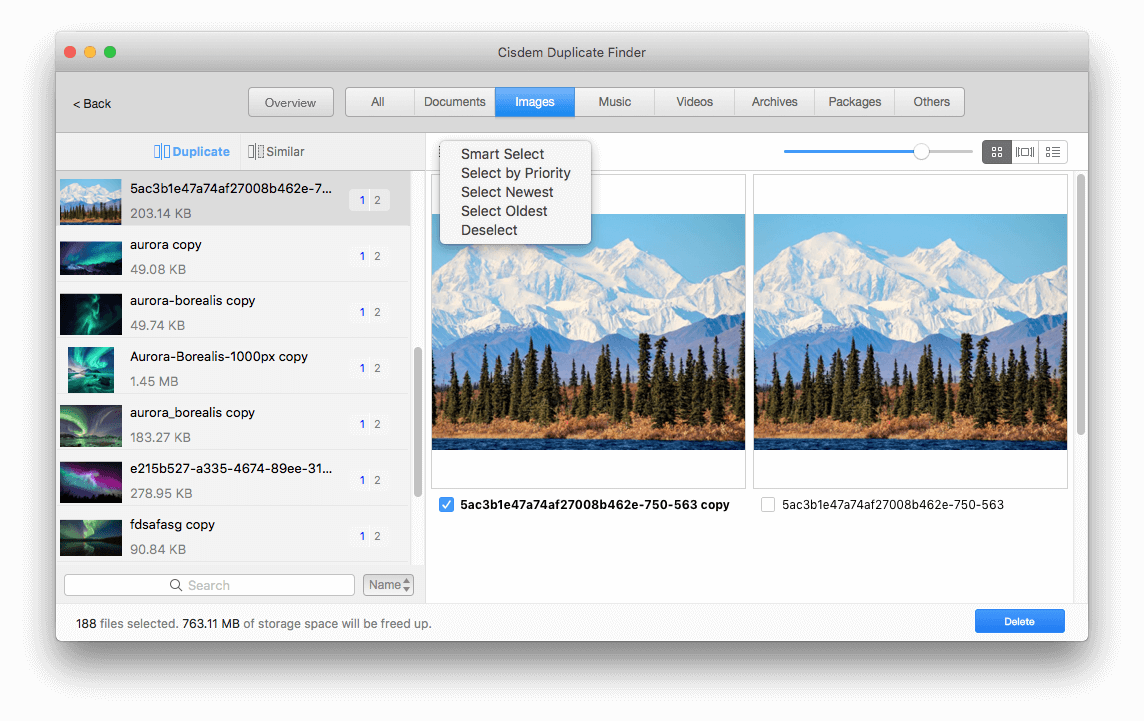
Step 8. In each group, the duplicate(s) will be automatically selected by the app’s Auto-Select feature, and one photo will stay unselected and won’t be deleted. In addition, there are also four selection rules. Click the list icon in the top left corner of the preview window, and they will appear.
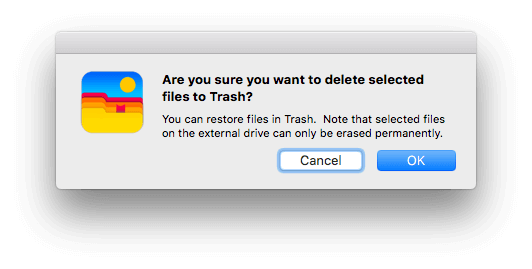
Step 9. Click Delete in the bottom right corner to perform a removal.
Step 10. Once the process is finished, a message box will pop up showing you how to complete the removal.
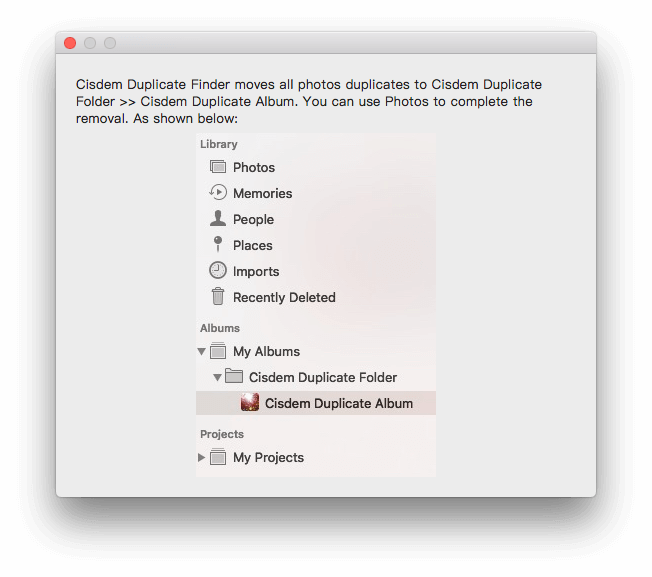
Now, you will find a new album called Cisdem Duplicate Folder on the left sidebar in your Photos app. Select the album. In the window on the right, click the album's thumbnail to open it.
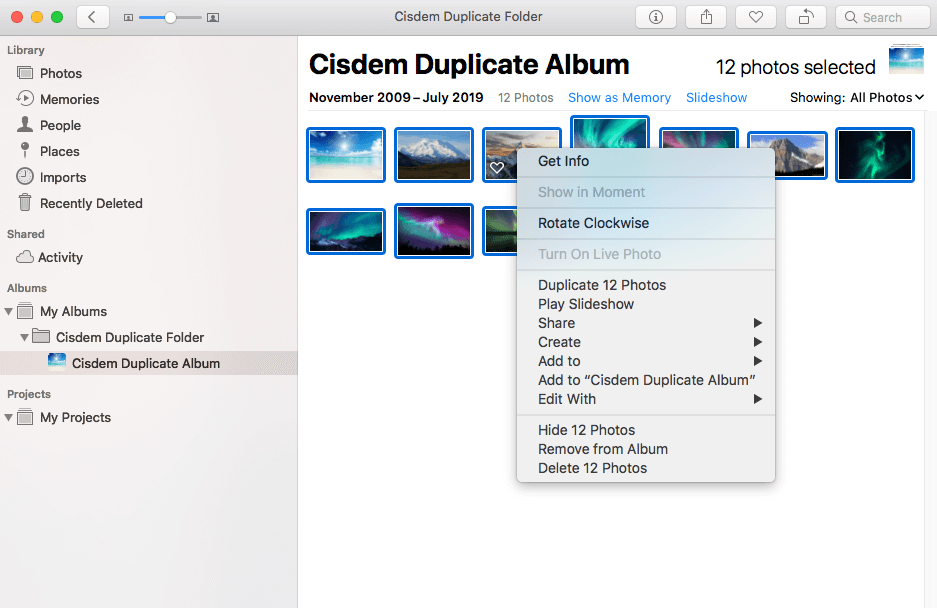
Step 11. Batch select all the photos (which are the unwanted duplicates) there.
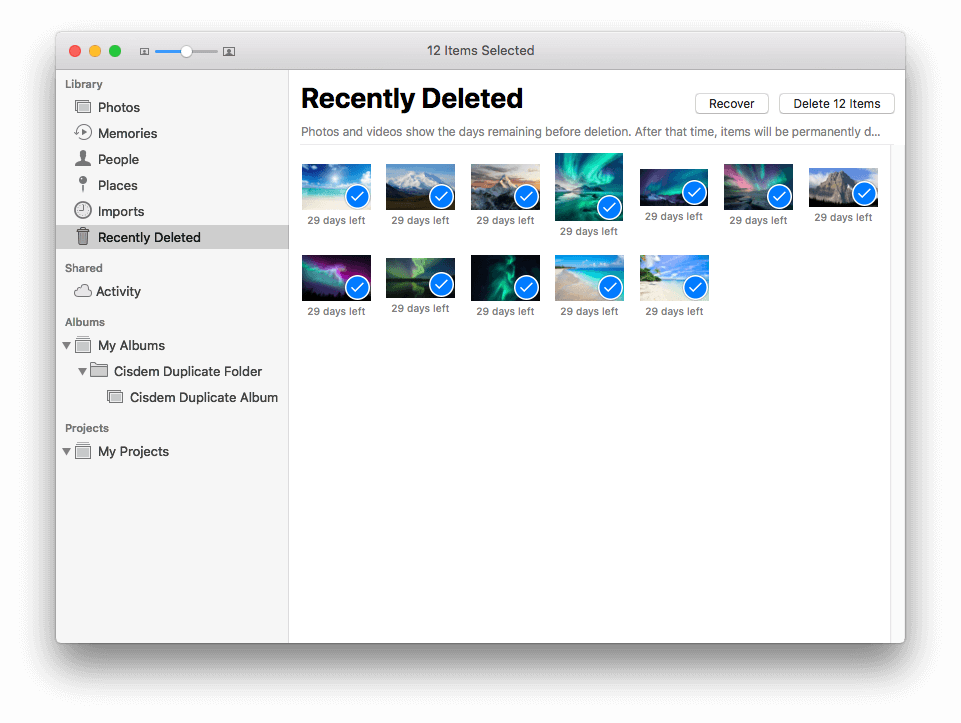
Step 12. Now these photos are moved to Recently Deleted. Photos app will automatically delete them forever after a month. To free up space right away, you need to delete them manually. Mass selection them and click the Delete ... Items button in the top right corner.
Now the duplicates in your Photos Library are gone for good, which will instantly free up space on your external drive.
It’s very important to follow the steps and don’t skip any if you want to successfully delete duplicates from Apple Photo Library located on external drive to save space. The guide above is also useful if you want to delete duplicates in a Photos Library located on your Mac.
If your Photos Library is too large, you can move it to an external hard drive to save storage space on your Mac. It’s also possible to transfer it to devices like memory cards and USB flash drives, which is however not recommended by Apple. You can also copy the library to an external storage device for backup.
Step 1. If Photos is open, quit it first.
Step 2. Connect your external hard drive to Mac. In Finder, open the drive.
Step 3. Control-click Finder and select New Finder Window. Locate your library. Where is Photos Library on Mac? By default, it's /Users/(username)/Pictures.
Step 4. Drag the .photoslibrary file to your external drive. To copy the library for backup, just copy and paste the file instead.
If it fails to move, control-click your external drive's icon in Finder, select Get Info > Sharing & Permissions, and change the settings.
If you have problems deleting duplicates from the external Photos library, it may be that you haven't set it as the System Photo Library. Regardless of the location of the library, it’s recommended to find and delete duplicates in it regularly, which will help save space and better manage your photos.

With a passion for tech and writing, Sarah joined Cisdem, where she focuses on creating articles about using utility tools to enhance file management and simplify contact management.