There are exact duplicate images. There are also non-exact duplicate images, such as photos that look the same but have different sizes. If some of your photos have two versions, one in a bigger size and the other smaller, you may want to remove the unwanted versions. This article shows you how to find duplicate images different sizes in an easy way on Windows PC and Mac. The identification is automatic and the removal is easy and quick.
 Cisdem Duplicate Finder
 Free Download Windows 11/10/8/7
 Free Download macOS 10.11 or later
Knowing these may help you better understand such duplicate photos.
 |  |  | |
| Pixel size | 1600 x 1067 | 800 x 534 | 400 x 267 |
| File size | 1.4 MB | 718 KB | 136 KB |
There is more than one method. Using Cisdem Duplicate Finder can be the best method due to the following benefits.
Below are the step-by-step instructions.
Step 1. Install duplicate image finder software.
Download and install Cisdem Duplicate Finder. Open it.
 Free Download Windows 11/10/8/7
 Free Download macOS 10.11 or later
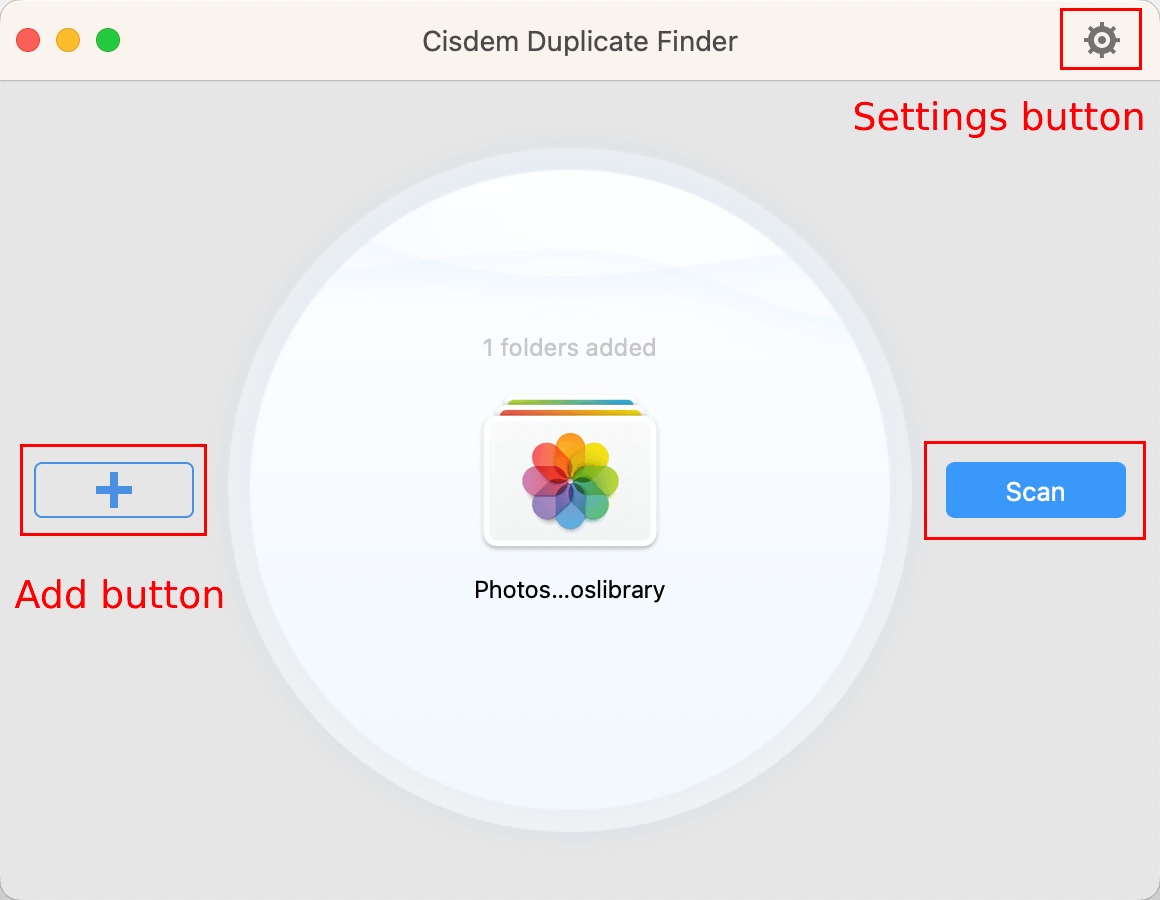
Step 2. Add the location to find duplicate images.
Use the Add button or drag and drop to add one or multiple folders from your computer, external storage device or cloud storage service. You can also add Mac’s Photos or Windows’ Photos.

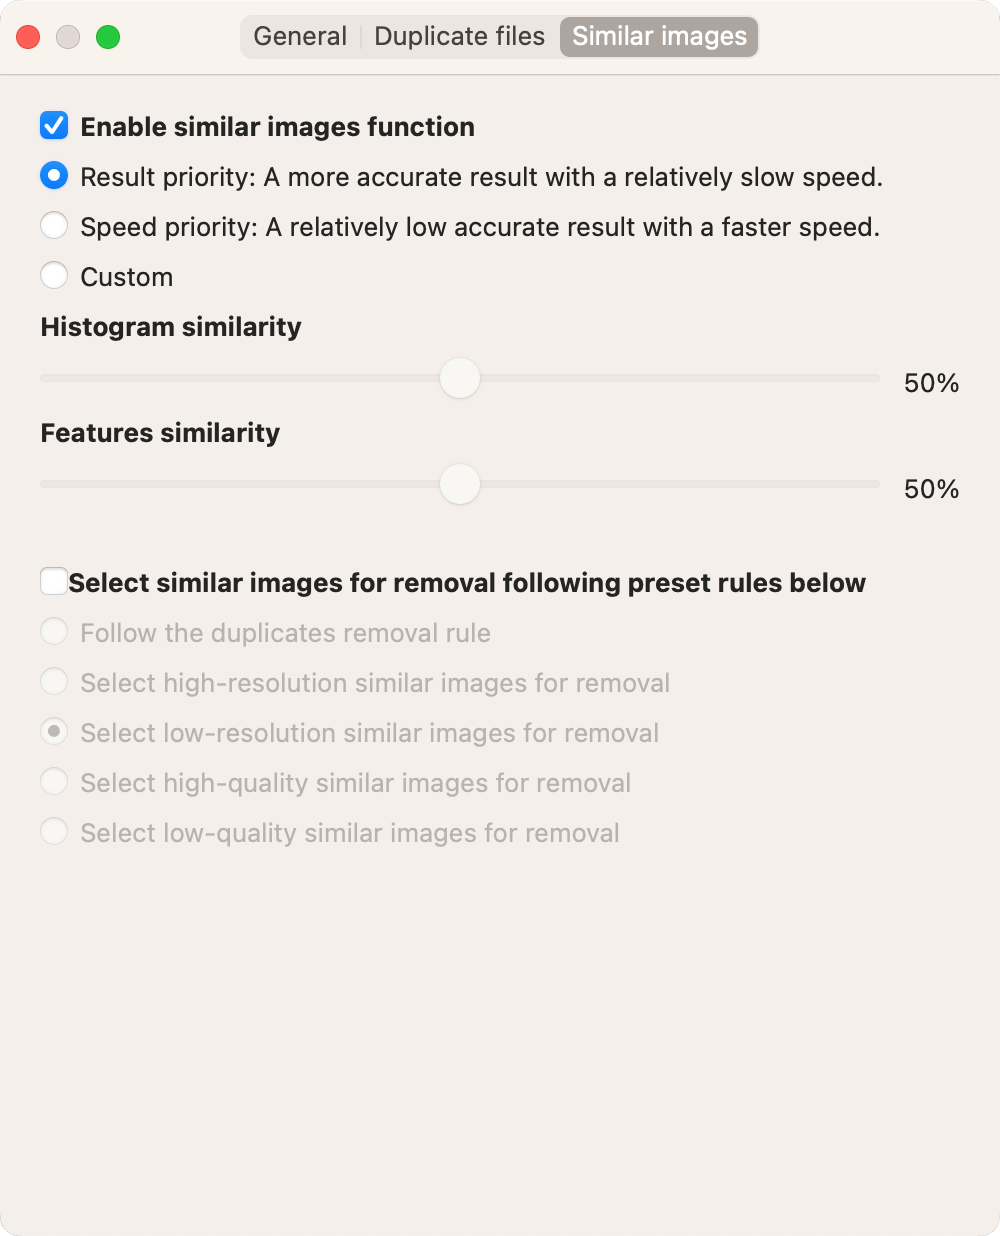
Step 3. Customize settings.
Click the Settings button to open the Settings window. Go to the Similar images tab to select the Enable similar images function checkbox.

Step 4. Click Scan.
Click Scan on the right to start scanning for duplicate images.
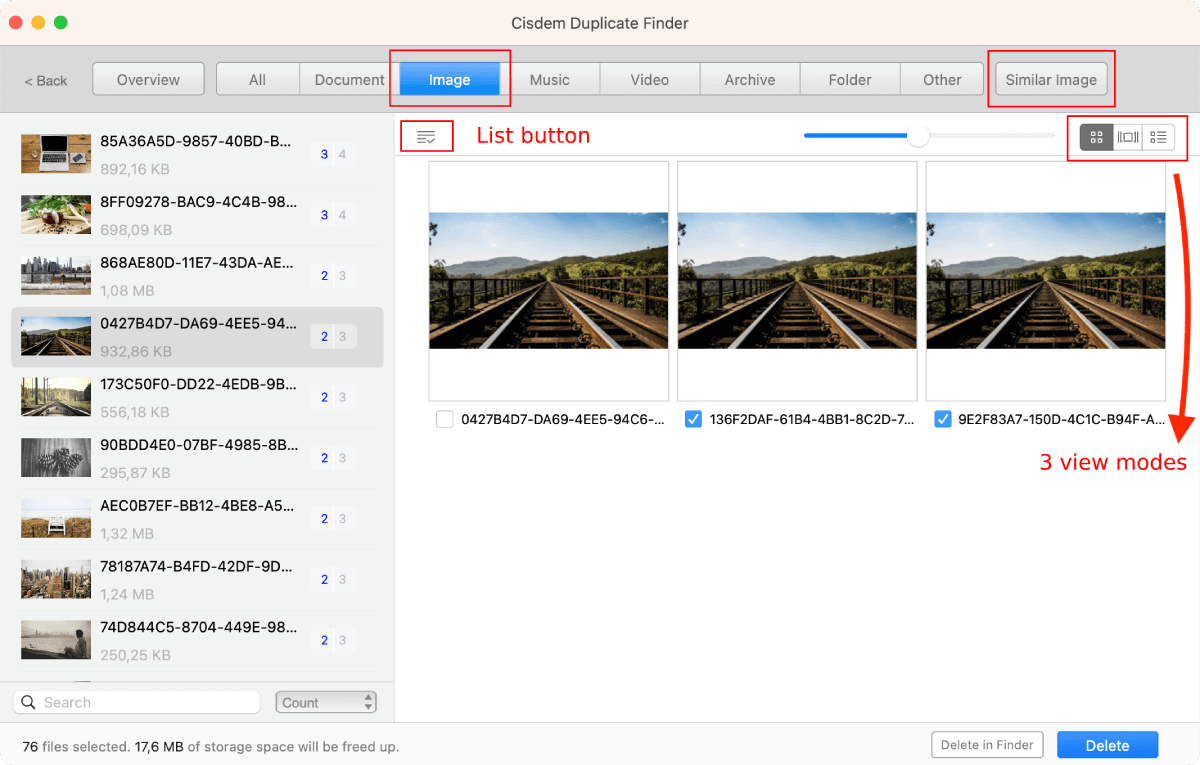
Step 5. View duplicate images.
When the scan is complete, you’ll see the results window. The Similar Image tab displays duplicate images of different sizes (and similar images if any). The Image tab displays exact duplicate images.

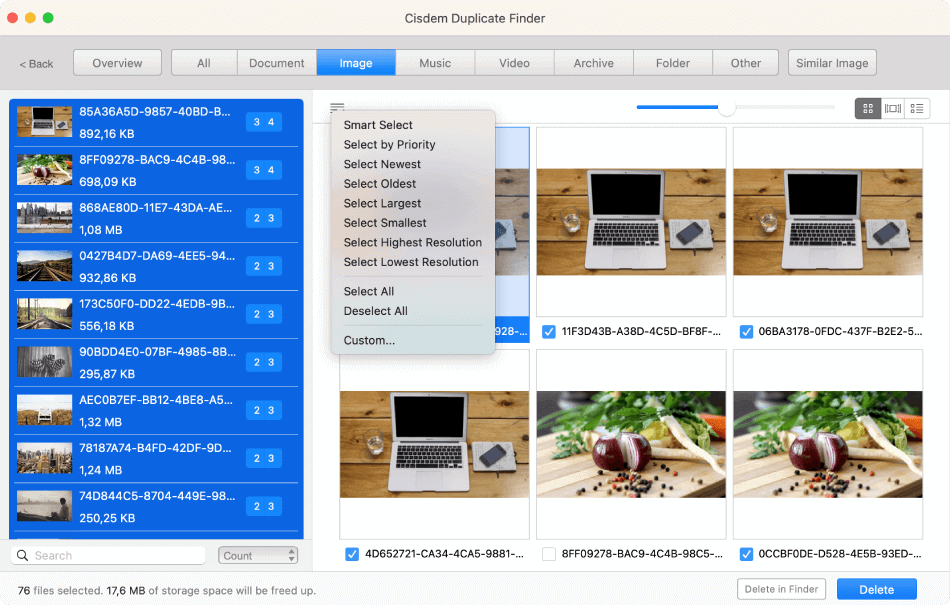
Step 6. Select unwanted versions of duplicate photos for deletion.
Under the Similar Image tab, go through each set of duplicates and select the unwanted version(s) for removal. To bulk select, highlight the sets (on the left) to which you want to apply a selection rule, click the List button, and choose a desired rule. For example, choosing the Select Smallest rule will automatically keep the photo with the largest file size in each set and select the rest for removal.

Step 7. Delete all unwanted versions with a click.
To delete all selected versions at once, just click Delete in the bottom right corner. Confirm the deletion.
The deleted duplicate photos will go to the Recycle Bin on Windows PC, or Trash on Mac, or wherever the deleted files typically go.
Tip: If you are not satisfied enough with what you see in the results window in step 5, just go to the Similar images tab to adjust the settings and then scan again.
Sometimes you compress a bunch of photos to send via email. Sometimes you convert some photos to a certain format to be able to upload them somewhere. This may be how you end up having different sized versions of the same photo. You generally don’t actually need two versions of the same photo.
If many of your photos have multiple versions, you can get rid of redundant versions to improve organization and free up storage space. This article shows you an easy, quick way to find duplicate images of different sizes and remove redundancy. I hope it’s helpful.

With a passion for tech and writing, Sarah joined Cisdem, where she focuses on creating articles about using utility tools to enhance file management and simplify contact management.


Hella Schmitt
Thank you! I moved over 2k photos from my computer and 1.5k were near-duplicate photos of different file sizes. Good tool!
Jodok Batlogg
Exactly what I was looking for. Easy to use. Thank you!