
How to Find and Delete OneDrive Duplicate Files All at Once
 30.2K
30.2K
 3
3


Duplicate Finder
The Best OneDrive Duplicate Finder


The fastest and easiest way to find and delete OneDrive duplicate files all at once is using Cisdem Duplicate Finder- an easy-to-use duplicate file finder that can accurately identifies duplicate files in OneDrive, Dropbox, computer's internal disks, external hard drives, SD cards, and more.

“I downloaded a lot of study documents and videos for an exam and uploaded them to OneDrive without checking for duplicates. Now my OneDrive is a mess. The duplicate files take up at least 1GB. I don't want to buy more storage, so need a quick way to delete these useless files and free up space.”
Are you also troubled by duplicate files in OneDrive? They not only clutter your OneDrive but also take up valuable storage space. To effectively clean them up, I recommend using a professional OneDrive duplicate file finder. Also, you can manually check and delete them one by one, which will be a bit troublesome. I'll show you both methods below.
How to find and remove duplicate files in OneDrive automatically
Cisdem Duplicate Finder is a professional duplicate file finder for Windows and Mac. Previously, it could only scan the local OneDrive folder for duplicates. The latest version for Windows now lets you connect your OneDrive account directly for scanning, making the process more convenient and more accurate.
 Main features of this OneDrive duplicate file finder
- Find duplicate photos, videos, documents, audio, and other files in OneDrive.
- Accurately detect duplicates, even if they have different file names.
- Fast scan speed - scans drives over 100 GB in less than one minute.
- Identify similar images, such as the same photo in different sizes, resolutions, formats.
- Detect duplicates within and across folders in OneDrive.
- Display found duplicate files for easy viewing.
- Automatically select all but one file for deletion in each set of duplicates.
- Offer preset rules (e.g., Select Newest) for mass selection.
- Support manual selection for full control.
- Easy to use and customize.
Below is how to use this tool to clean up OneDrive duplicate files on Windows and on Mac.
Steps on Windows PC
Step 1. Download and install Cisdem Duplicate Finder. Open it.
 Free Download Windows 10 or later
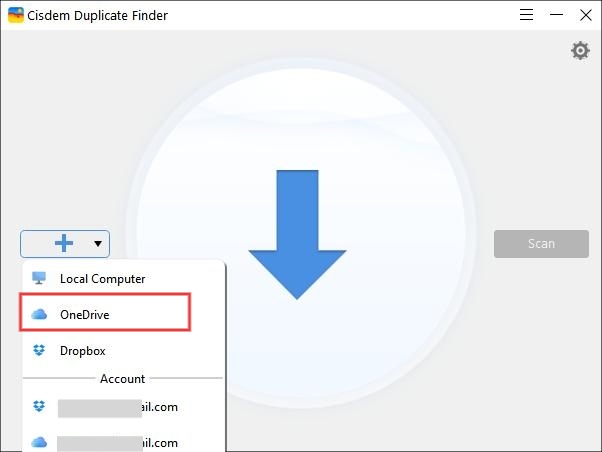
Step 2. Click the Add button. Select OneDrive.
Sign in with your OneDrive account. Allow this tool to access your files.
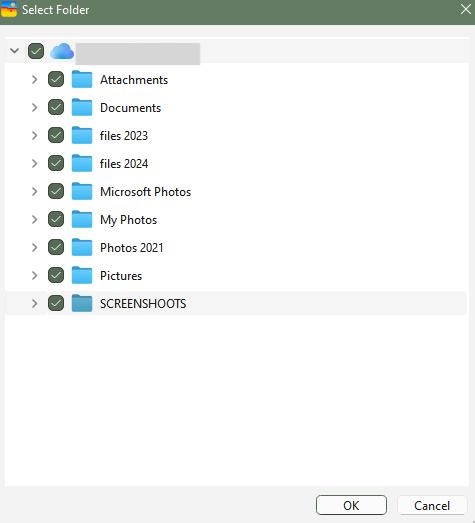
Step 3. Select the OneDrive folders you want to scan for duplicates. Click OK.
Step 4. Click Scan.
Step 5. Wait for the scan to complete. The results window will appear and display all detected duplicate files in your OneDrive. You can easily view and compare them.
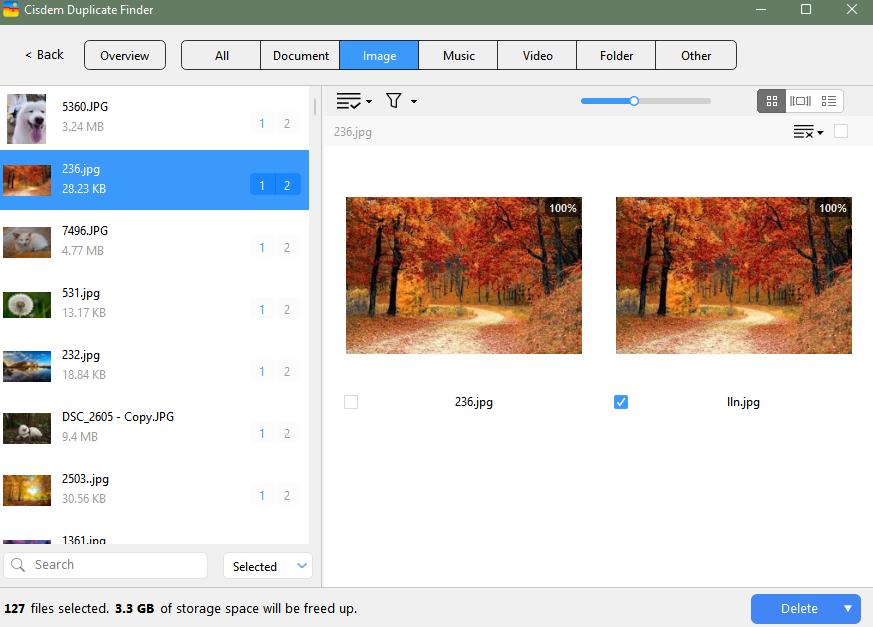
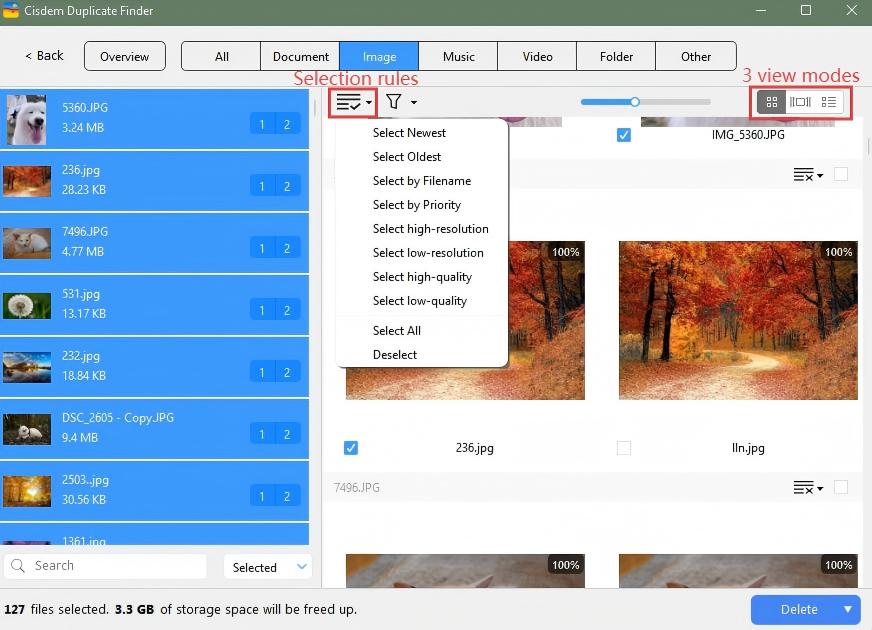
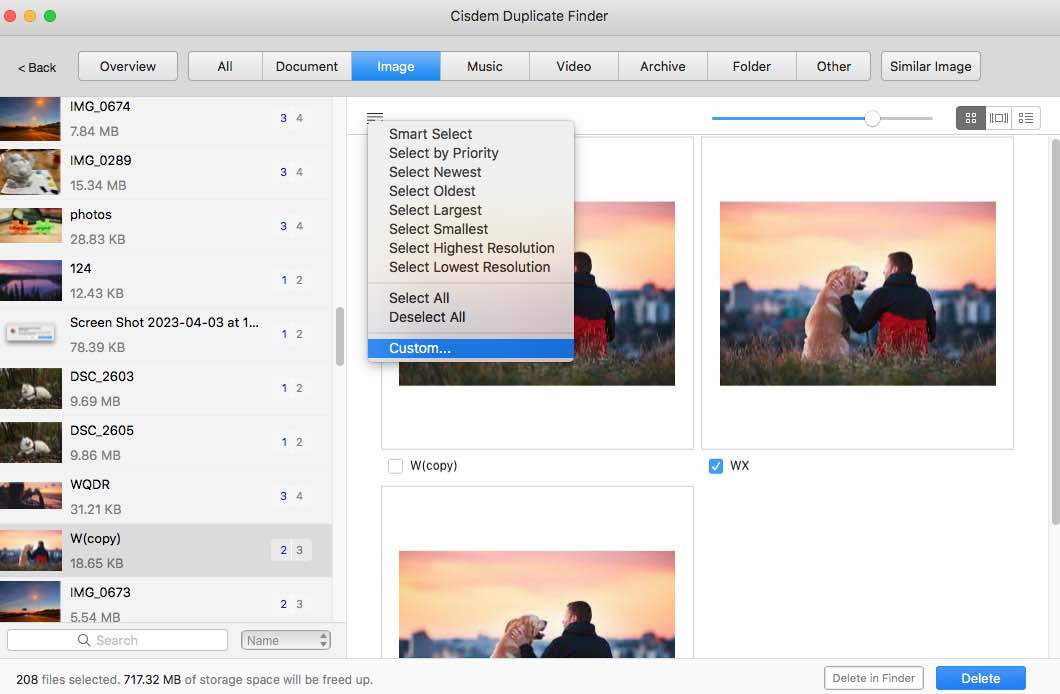
Step 6. In each set of duplicates, the tool automatically selects all but one file for deletion. You can manually select or deselect files if needed. Also, there are several rules for mass selection that you can apply to your chosen sets.
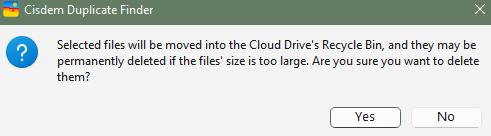
Step 7. When you are sure that all unwanted duplicates are selected, click Delete. Then confirm the deletion.
Now all the duplicate files in your OneDrive account are removed at once.
Steps on Mac
Step 1. Download the OneDrive desktop app. Install it. Sign in with your account.
Step 2. At the bottom of the This Is Your OneDrive Folder screen, you can see the location of the local OneDrive folder on your Mac.
Click Change Location if you want to use a different path.

Step 3. On the next screen, select the Sync all files and folders in OneDrive option if you want to search for duplicates across your entire OneDrive. Otherwise, choose the specific folders you want to sync. Click Next.

Step 4. Click Open OneDrive Folder to open the local folder in Finder.
Wait for the sync to finish. After the files are successfully downloaded, they will be marked with a small tick icon.
Step 5. Install Cisdem Duplicate Finder on your Mac. Open it.
 Free Download macOS 10.11 or later
Step 6. To scan for OneDrive duplicate files, add the OneDrive local folder. Click Scan.
Step 7. View the detected duplicate files in your OneDrive. The tool automatically selects duplicates for removal. You can adjust the selections manually if needed.
Step 8. Click Delete to remove the OneDrive duplicate files all at once.
 The steps on Windows are very simple, while the process on Mac involves a few more steps. Therefore, I created a video to more intuitively help Mac users clean up duplicate files in OneDrive.
How to manually look for and delete duplicates in OneDrive
If there aren’t many files in your account, you can manage duplicates manually. In the following steps, I will show you how to make the manual method relatively easy, especially for duplicate files scattered across different folders.
Step 1. Visit onedrive.live.com in your browser. Sign in with your account.
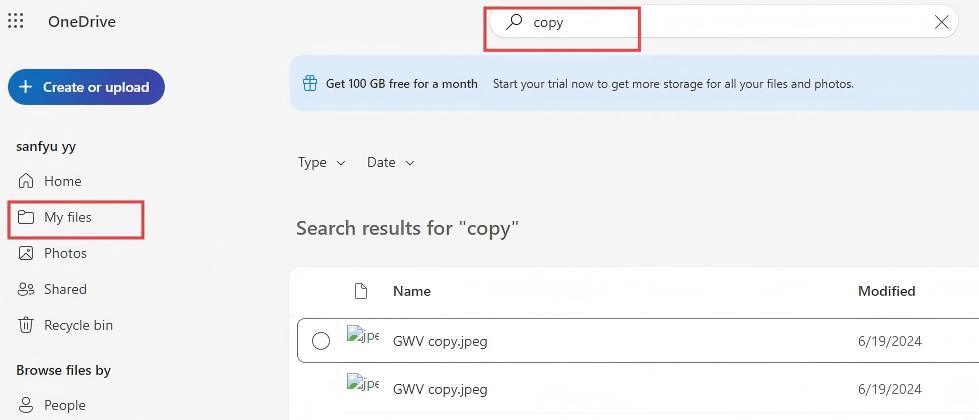
Step 2. In the left side bar, choose My Files.
Step 3. Look for OneDrive duplicate files by file name, file size, or file content.
 By file name:
In the Search everything box at the top of the page, enter a keyword that might appear in duplicate files, such as “copy”. Press Enter.
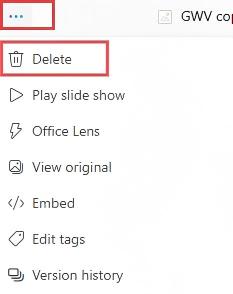
Click the file to preview it. Click the 3-dot icon at the top. Click Delete.
 By file size (find duplicates within a folder):
Open the folder that you think may contain duplicate files.
Click Sort > File size.
Scroll down the file list. Note files with the same size, which may be duplicates. To preview the files, click Details in the upper right corner.

Then select the files that you don’t want to keep. Click the Delete button.

 By file content (find OneDrive duplicate photos):
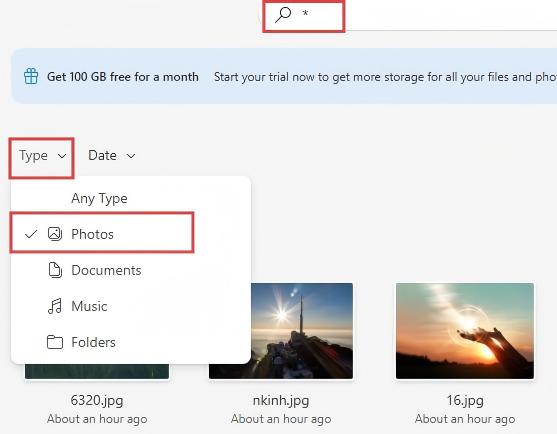
In the Search everything box at the top of the page, enter the asterisk symbol *. Press the Enter key.
Click the Type drop-down menu that appears. Choose Photos. This will display all image files in your OneDrive.
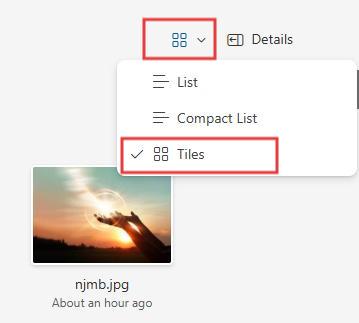
Click the Switch view options icon in the top right corner. Choose Tiles. This will display all photos as thumbnails, making it easier for you to spot duplicates.
Select the duplicate photos that you want to delete. Click Delete.
FAQs
Why does OneDrive create duplicate files?
OneDrive may create duplicate files with the computer name if there is a sync issue when multiple people are editing the same file simultaneously. If changes made by different users are not synced properly, conflicts can occur. OneDrive saves different versions of the file to prevent data loss, which can lead to duplicate files. Go through these duplicates and delete the versions you don’t need.
Here are some common fixes for the sync issues that may cause OneDrive duplicate files with computer name added.
- Refresh your credentials in Credentials Manager (Windows) or Keychain Access (Mac).
-
Reset the OneDrive app on your device.
- Uninstall and reinstall the OneDrive app.
Will OneDrive upload duplicate files?
Yes. Although OneDrive provides a basic duplicate detection feature that helps avoid duplicates by detecting and skipping the reupload of existing files. This feature identifies duplicate files only by file name and extension, making it not accurate enough. Therefore, there can be false positives, and many true duplicate files may still be uploaded.
Is it safe to delete OneDrive duplicate files?
Yes. As long as you preview the files carefully before deleting, you won’t lose any data. Both the automatic and manual methods covered in this article let you check files before removal. When using Cisdem Duplicate Finder for Windows, deleted duplicates are moved to the Recycle Bin of your OneDrive account. On Mac, the tool moves them to your computer’s Trash. If you delete duplicates directly on onedrive.live.com, they will also be moved to the OneDrive Recycle Bin. In all of these cases, you can recover deleted items within 30 days if needed.

With a passion for tech and writing, Sarah joined Cisdem, where she focuses on creating articles about using utility tools to enhance file management and simplify contact management.

Adrian Li is Cisdem’s Chief Engineer and serves as the editorial advisor for Duplicate Finder and ContactsMate. His work and insights have been featured in leading tech publications such as Fossbytes, TUAW, Redmond Pie, SafetyDetectives, and BestForAndroid.
Waldenberger
I’ve been syncing OneDrive across multiple devices, and duplicates kept piling up. I followed the steps in this srticle and finally got everything sorted. Thank you!
John Stuart Smith
I have spent a lot of time trying to find a way to get rid of all duplicate files in OneDrive. This post helped me.
Ernst Bernard
I had so many files in one drive. Luckily, this app helped me cleared out almost 40 GBs. The auto select feature really make the process more efficient.